

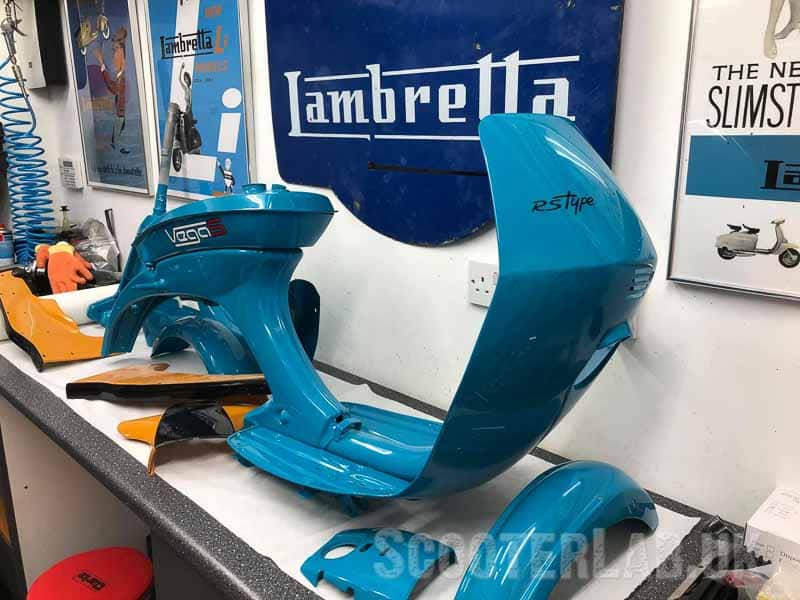
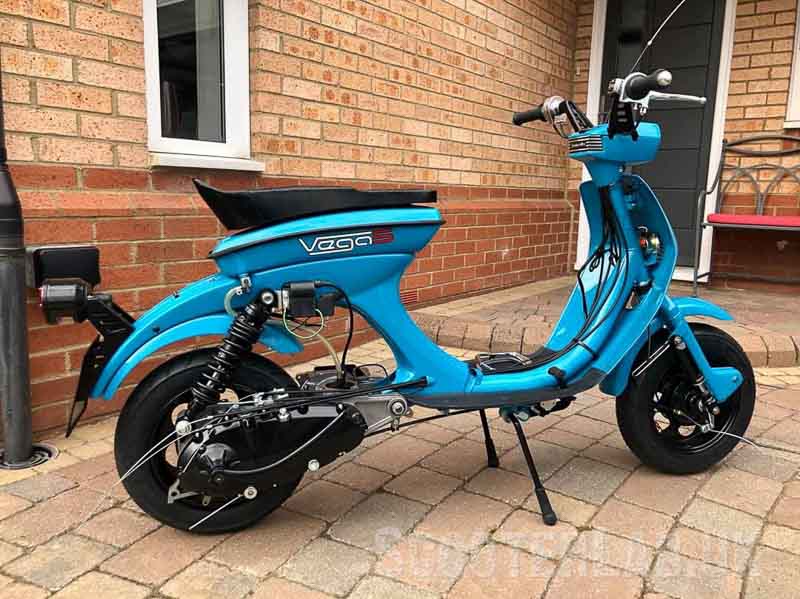
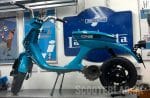
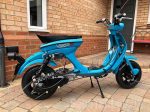
It seems like about six years ago that I last wrote something about the build of this Vega ONE35 project. It has been a long time and a lot has happened in that time. Especially in terms of the availability of new parts and the build of the scooter in general. The sticking point has been waiting for the release of the full package of Casa Performance upgrades to accompany and compliment the new ONE35 kit top end.
Of course, as soon as you start adding power to something which previously had very little and was designed with feeble internal parts, You’re gonna run into trouble if you don’t revise and upgrade everything down the line to the final destination – the rear wheel.
Some monumental effort has gone into the CAD design and prototyping – and many road miles of testing of all of the individual components by the Casa Performance lads. So when you think about it, it’s bound to take a long time to put these things into production then market and actually sell them. And all this is done by just a few clever individuals.
Tested to destruction
I’m sure there are people out there just waiting for the moment when they can give something a good slagging at the first failing of a newly produced part. Failings are inevitable… But you can be absolutely sure that this will not be down to lack of testing the parts to destruction, in order to assess and improve if necessary at the prototype stage.
Anyway, I shall focus on what has been achieved and what has been a fuck-up on my part in terms of the scooter build. Nothing ever goes smoothly if I’m involved.
Dry build
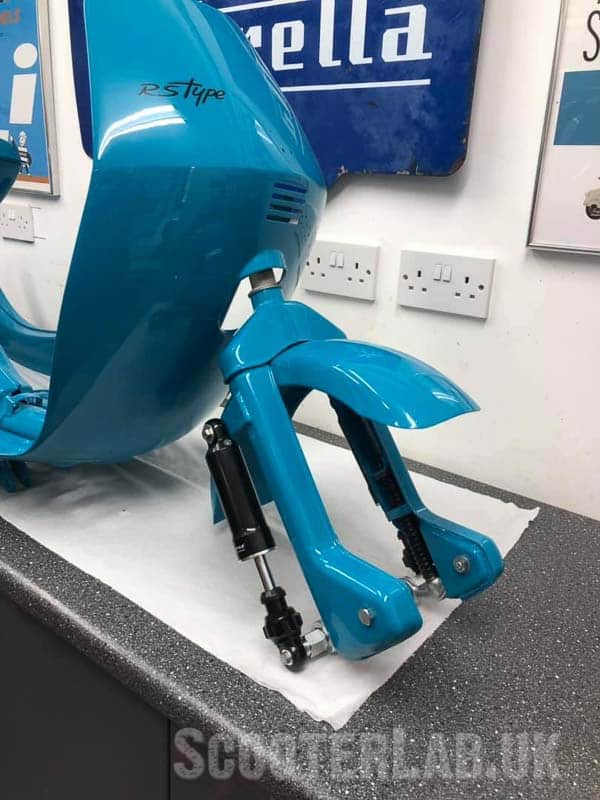
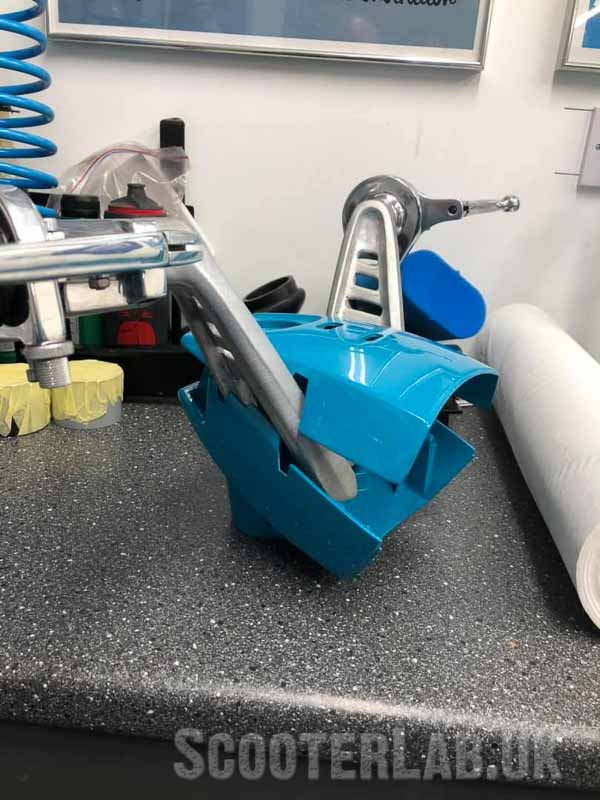
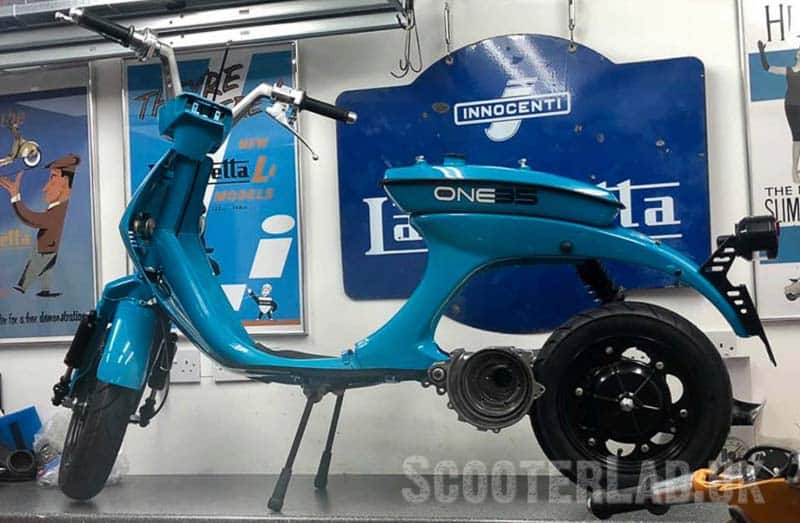
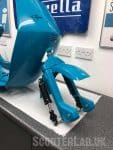
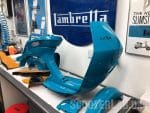
Upon receiving my parts back from paint I eagerly began assembling them only to find that in my haste I hadn’t done a very good job of dry building it. I\’ve built scooters so many times before but wrongly assumed that NOS parts would fit without trying them first.
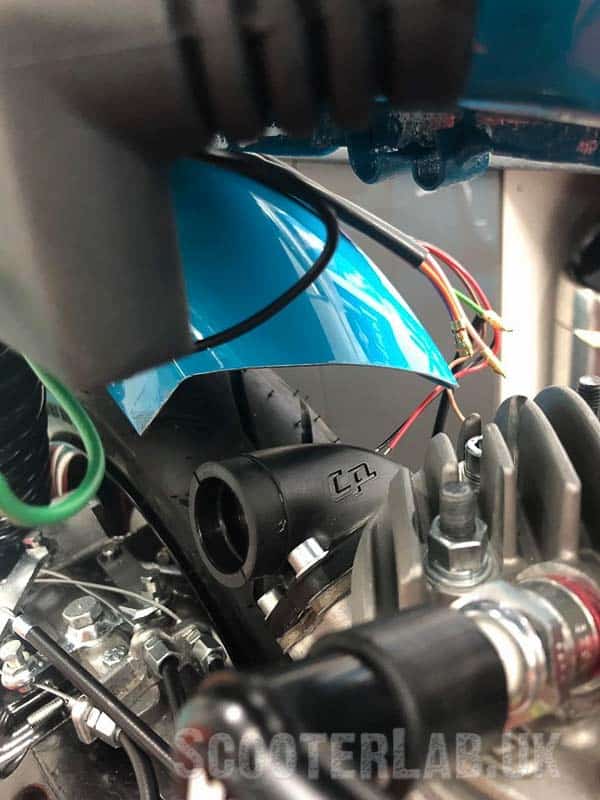
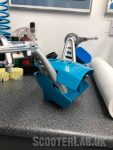
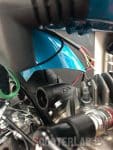
In addition to that, I hadn\’t cut the rear mudguard sufficiently enough to clear the rubber inlet manifold. And also after having the bars expertly shortened by Mr Broadhurst I hadn\’t trial fitted them to the headset top and bottom… which again needed further modifications – and a repaint.
All of that superb shiny paintwork, all the time and effort by Stuart in the paint booth had to be redone. What a bastard… lesson learned. DRY BUILD EVERYTHING!
Crank it up
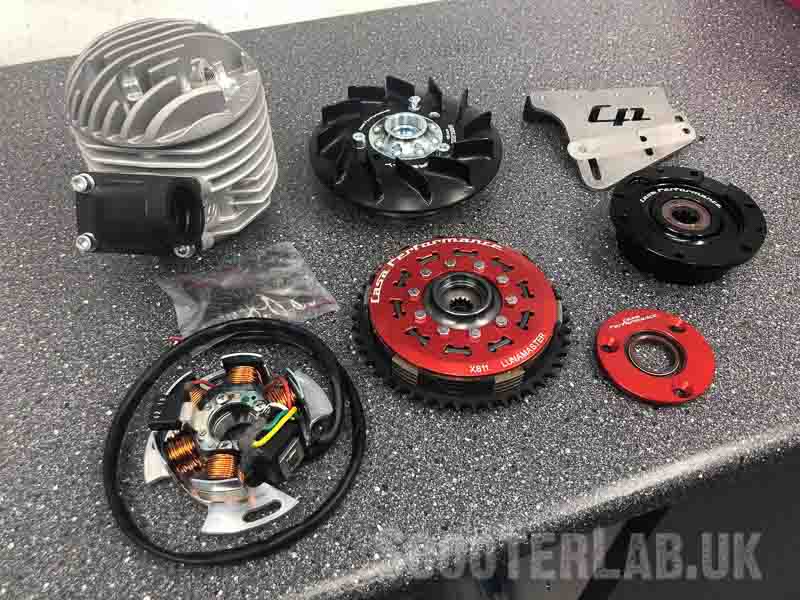
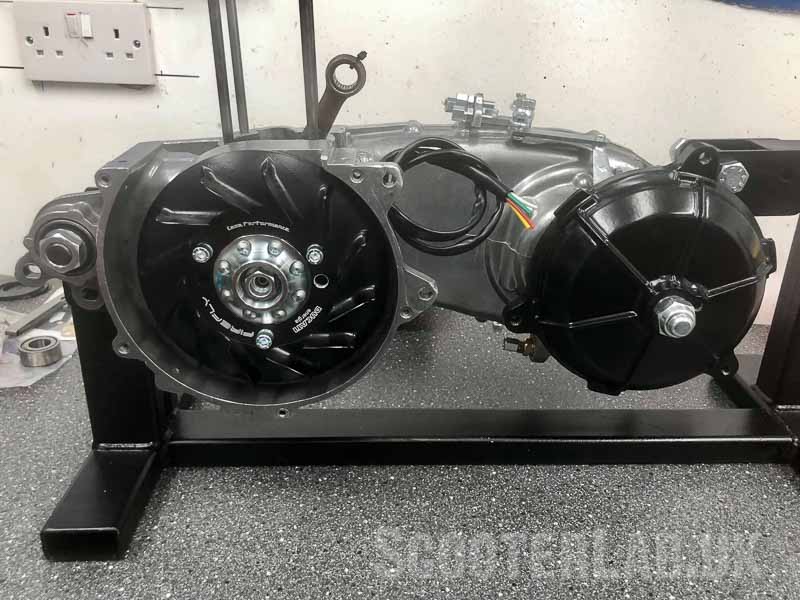
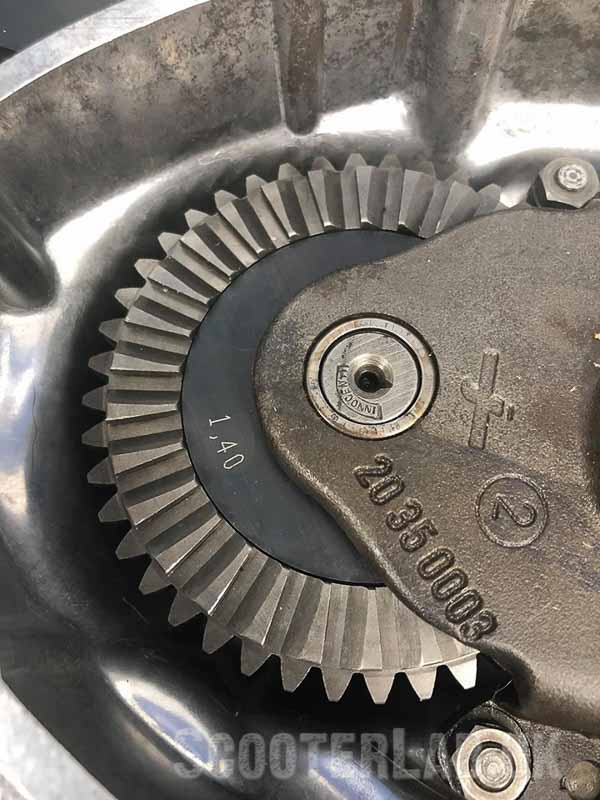
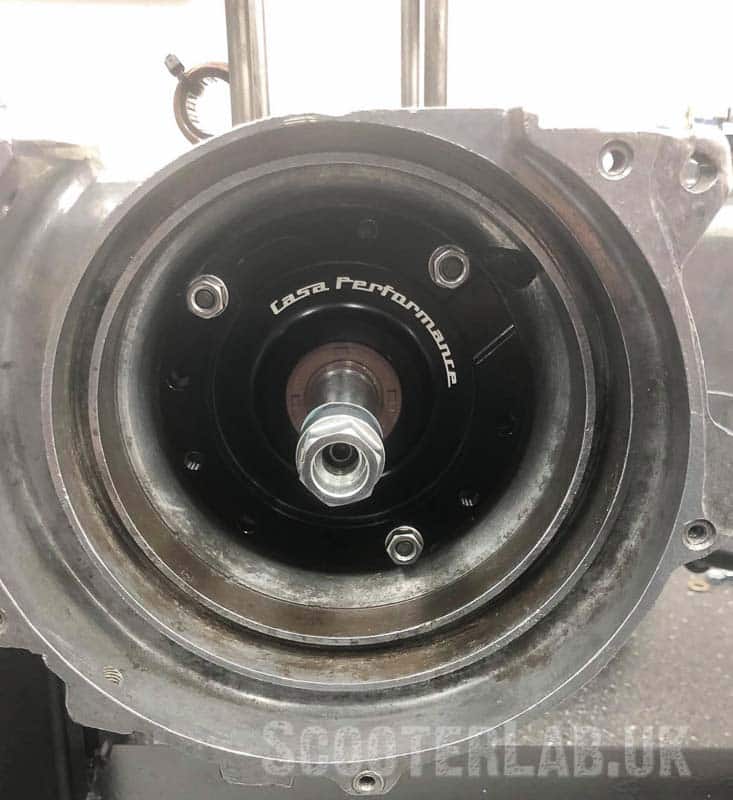
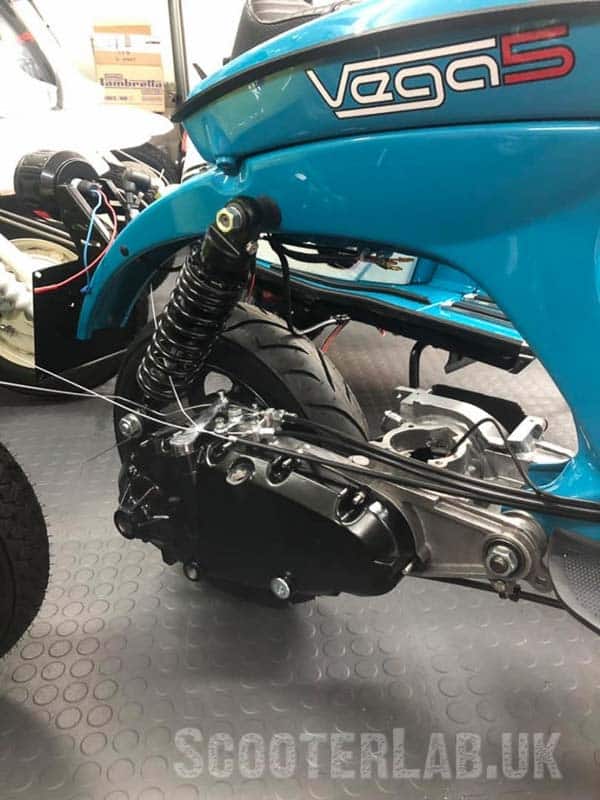
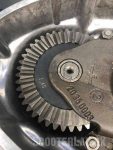
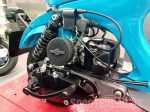
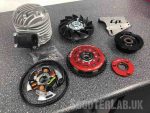
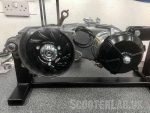
As parts came from Casa Performance for the engine. I began to slowly assemble everything. Starting with the pre-production Vega5 speed Cyclone gearbox, everything appeared well made and finished and simply slotted together without any issues.
The crank I have fitted is an interim crank. It\’s a J125 item but it had a Mazuccelli conrod fitted – this is until the production cranks for 4-speed casings become available. These new cranks have had all balance factors addressed and should hopefully run super smooth.
Lunamaster
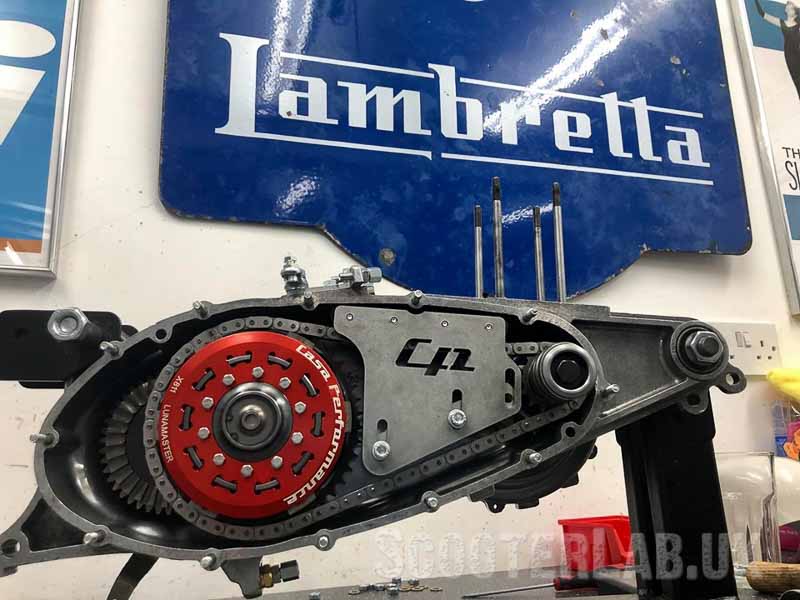
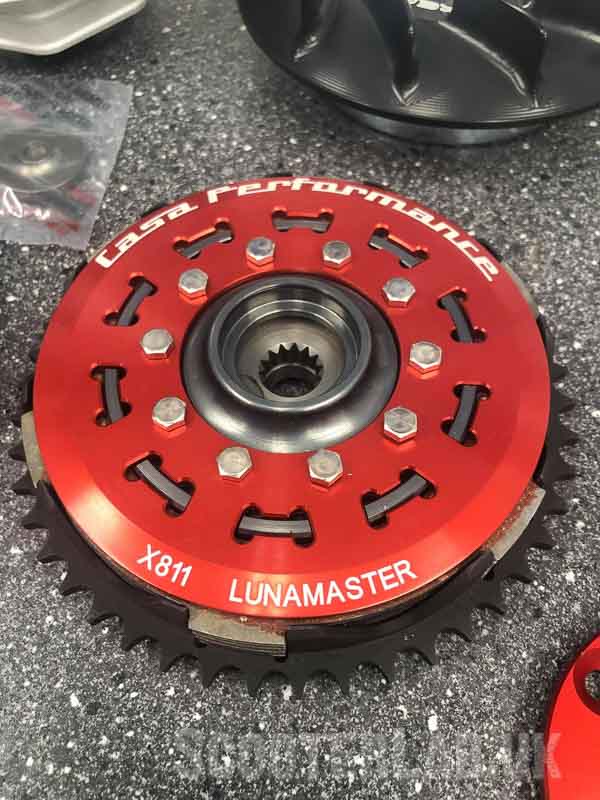
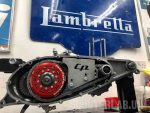
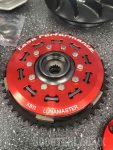
The Lunamaster 5-plate clutch came next and is a cassette type clutch. So it was easy to put together and fit without the use of a clutch compressor. I chose a 15-tooth front sprocket and a 46-tooth clutch sprocket as a starting point for the primary drives.
CP ONE35
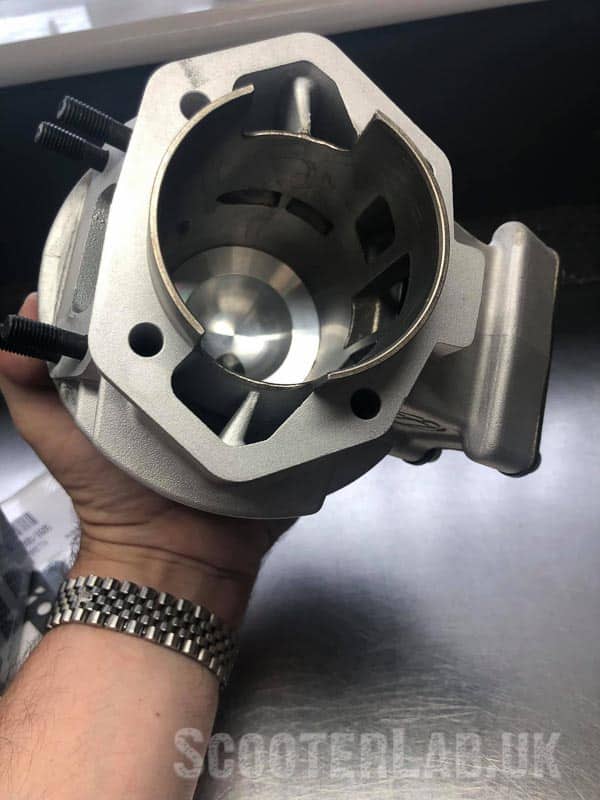
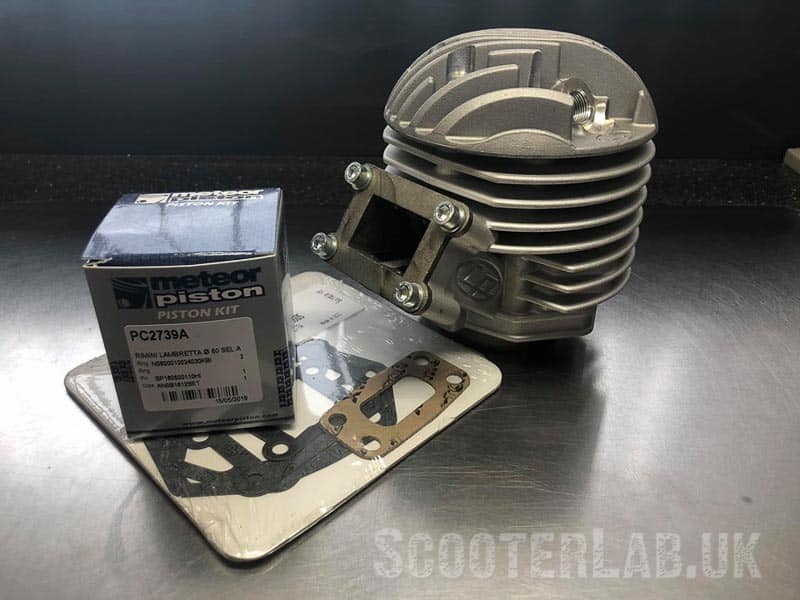
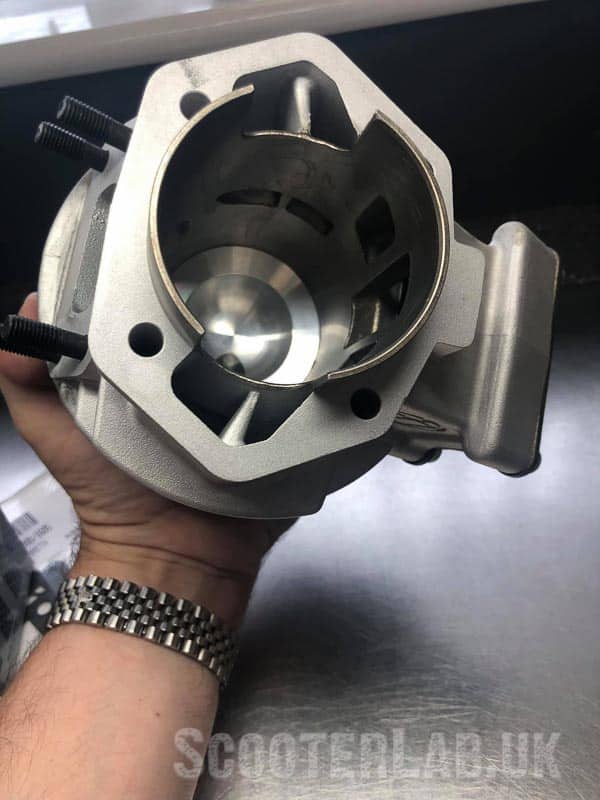
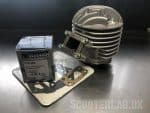
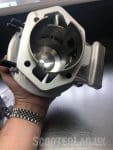
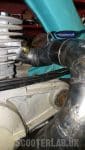
The top end bolted together without issue and a squish of 1.2 mm was achieved. Finally, a 24mm Polini carb was chosen as this was fitted with good results on one of the Casa Performance test bikes.
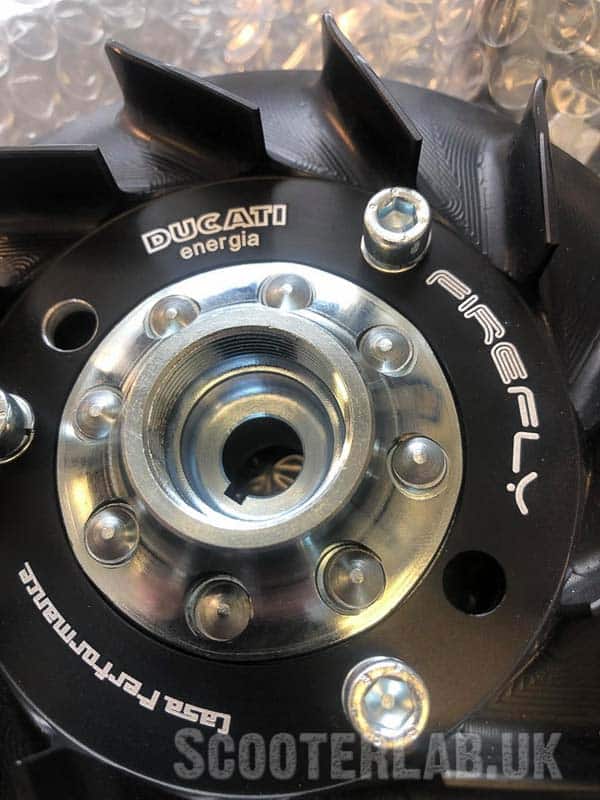
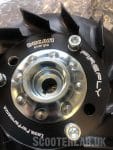
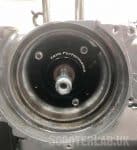
The whole engine seemed to be a piece of piss to build, with the final part being the new Ducati Casatronic ignition with the aptly given name, \’The Firefly\’.
Exhausted
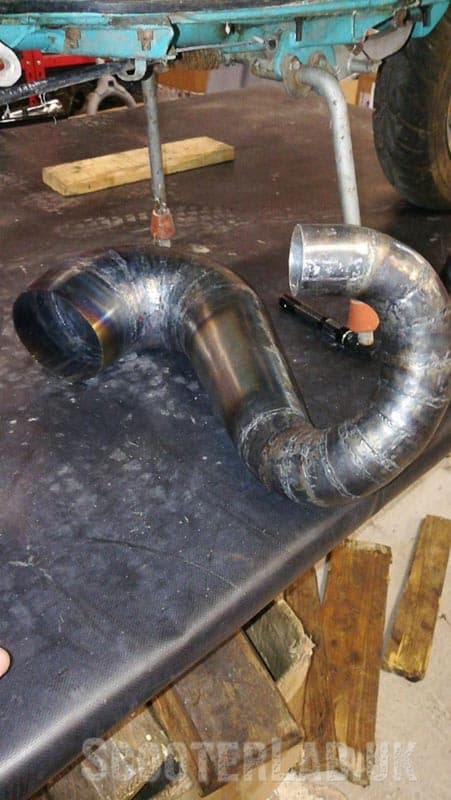
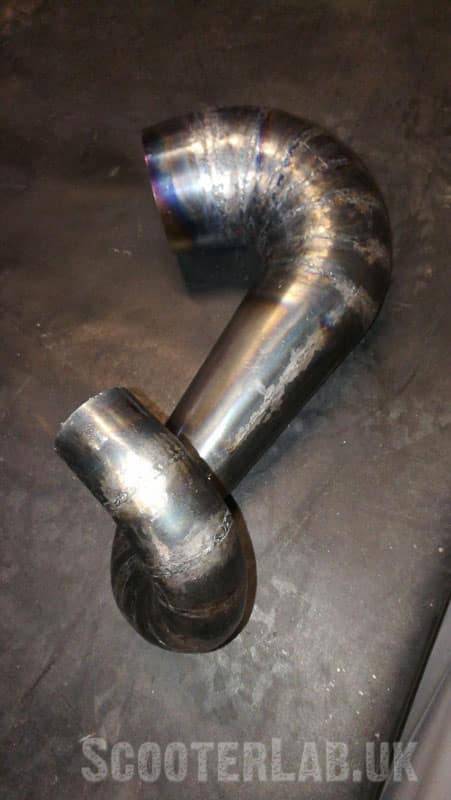
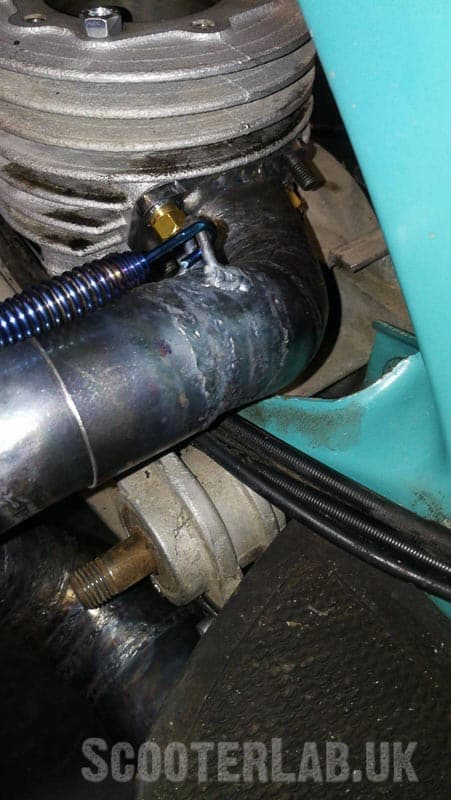
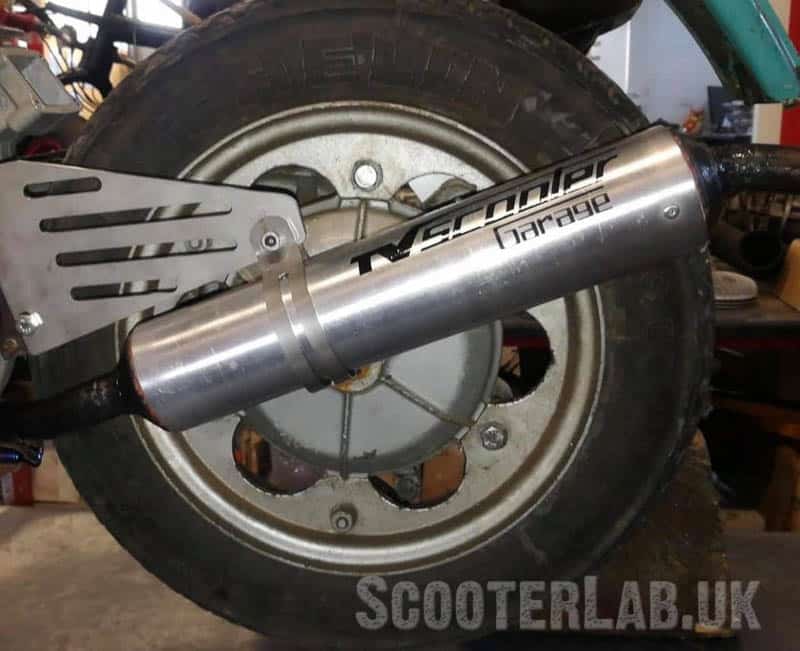
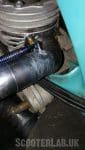
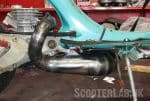
Only one part eluded me at this point… and that was a suitable exhaust. I had some thinking to do on that score…… so while on holiday in Italy I decided to visit Fabio and Alan at TV Scooter Garage.
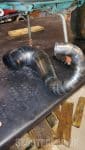
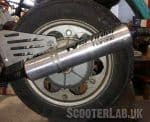
They had developed an expansion chamber and fitted it to their tuned ONE35 engine. Read more about it here.
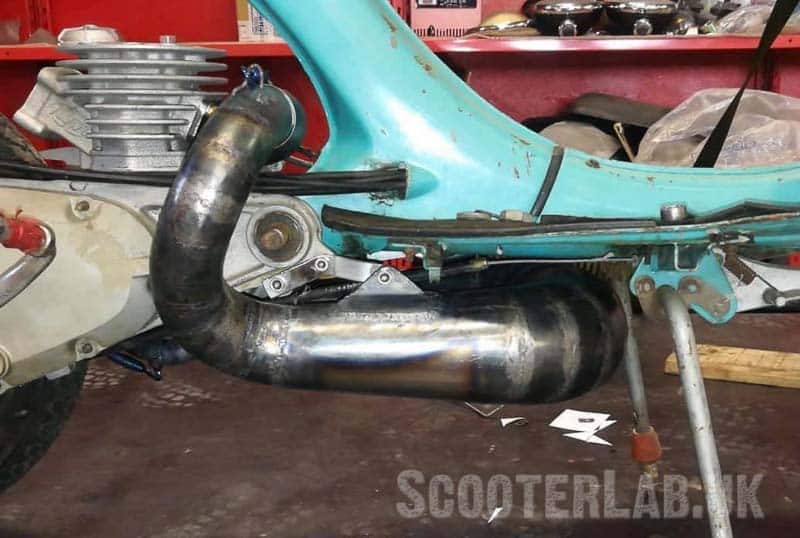
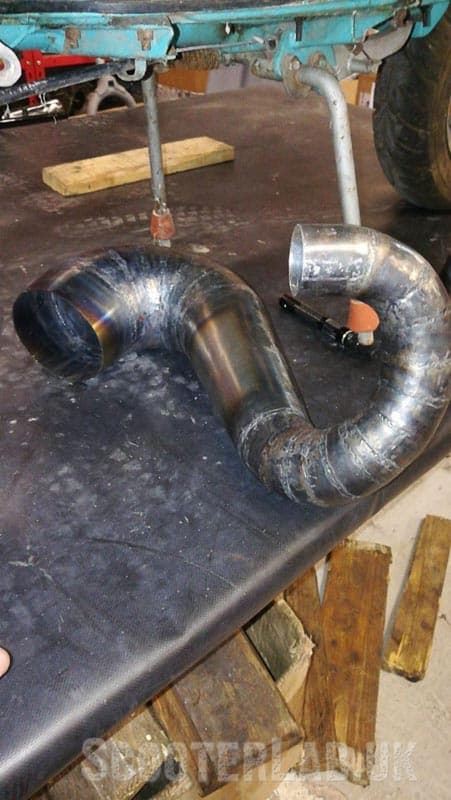
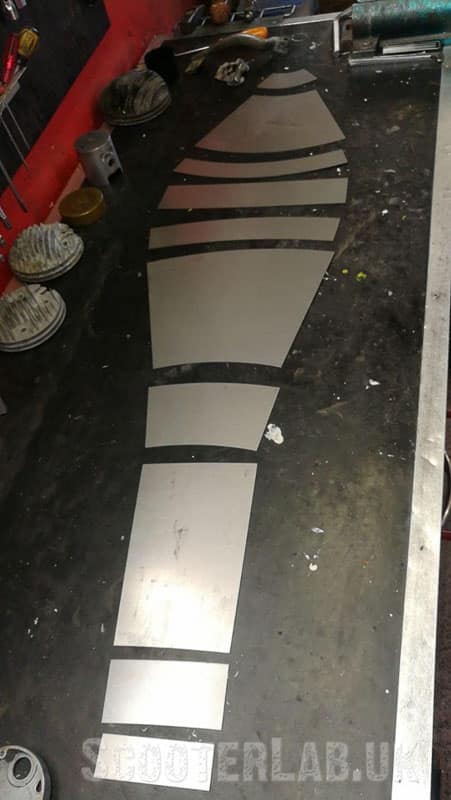
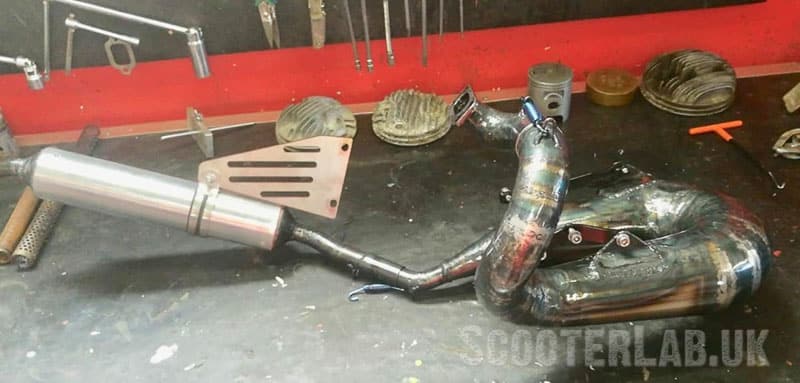
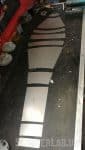
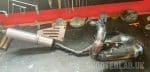
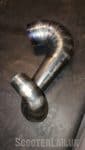
To cut a long story short, after my visit I decided that I had to have one. And Fabio set about making me only the second of these hand made expansion chambers. The skill involved in making these exhausts is incredible. And he happily sent me a raft of photographs covering the whole process, which I found fascinating. He finished it just in time to get it packaged and shipped to me before departing for a well earned holiday in Sardinia. Top work, top fellas.
Moment of truth
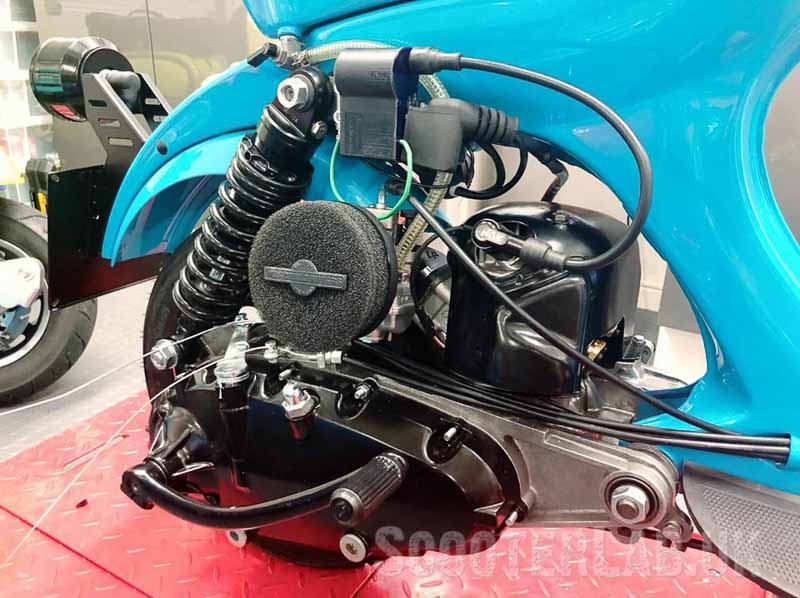
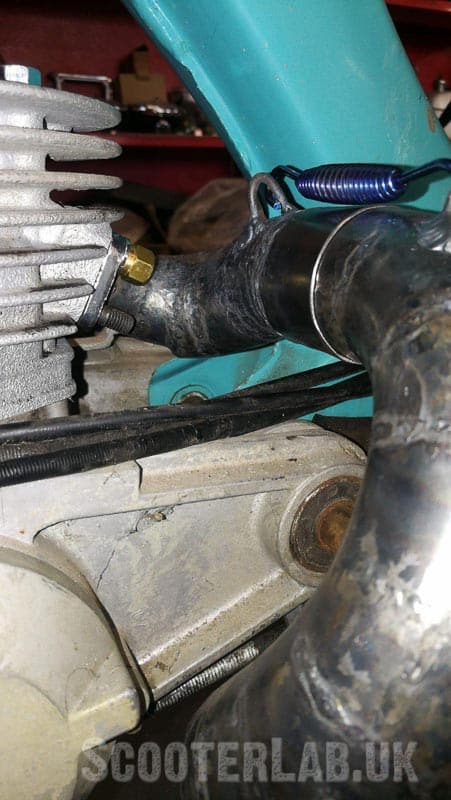
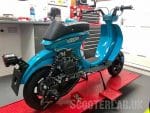
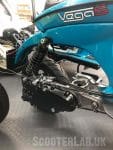
As soon as it arrived I fitted it and stood back to admire the handy work. Then it dawned on me – it was ready to start. I always get an uneasy feeling of trepidation before I attempt to start a new scooter engine.
What if I\’d ballsed it up somewhere and it all ends in an expensive pile of broken bits. Did I tighten that drive bolt properly, did I fit that oil seal correctly. The paranoia sets in. Have I stuck the gudgeon pin circlip right into the recess?
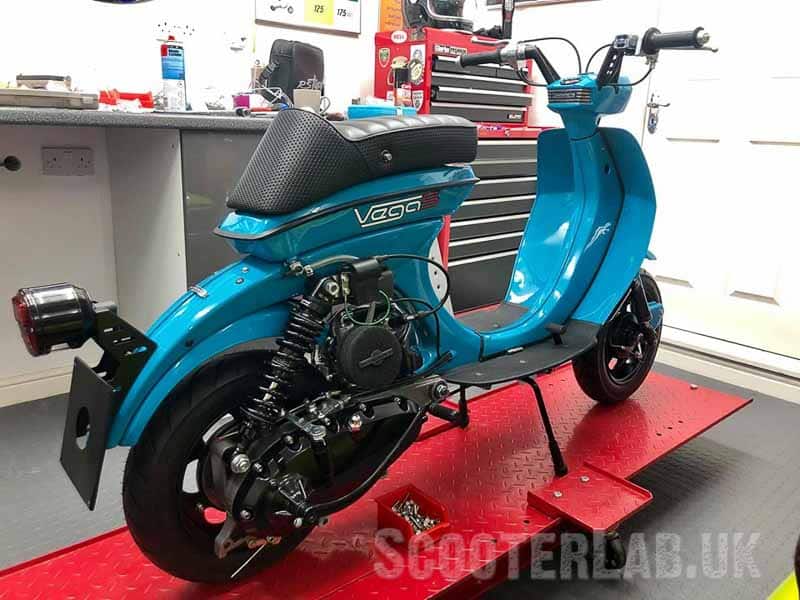
OHHH FFS just start it and lets get on with it.
To be continued…
Words and photo: Kirk St Moritz
Kirk\’s build so far
Visit the SLUK Shop to see the latest goodies
It seems like about six years ago that I last wrote something about the build of this Vega ONE35 project. It has been a long time and a lot has happened in that time. Especially in terms of the availability of new parts and the build of the scooter in general. The sticking point has been waiting for the release of the full package of Casa Performance upgrades to accompany and compliment the new ONE35 kit top end.
Of course, as soon as you start adding power to something which previously had very little and was designed with feeble internal parts, You’re gonna run into trouble if you don’t revise and upgrade everything down the line to the final destination – the rear wheel.
Some monumental effort has gone into the CAD design and prototyping – and many road miles of testing of all of the individual components by the Casa Performance lads. So when you think about it, it’s bound to take a long time to put these things into production then market and actually sell them. And all this is done by just a few clever individuals.
Tested to destruction
I’m sure there are people out there just waiting for the moment when they can give something a good slagging at the first failing of a newly produced part. Failings are inevitable… But you can be absolutely sure that this will not be down to lack of testing the parts to destruction, in order to assess and improve if necessary at the prototype stage.
Anyway, I shall focus on what has been achieved and what has been a fuck-up on my part in terms of the scooter build. Nothing ever goes smoothly if I’m involved.
Dry build
Upon receiving my parts back from paint I eagerly began assembling them only to find that in my haste I hadn’t done a very good job of dry building it. I’ve built scooters so many times before but wrongly assumed that NOS parts would fit without trying them first.
In addition to that, I hadn’t cut the rear mudguard sufficiently enough to clear the rubber inlet manifold. And also after having the bars expertly shortened by Mr Broadhurst I hadn’t trial fitted them to the headset top and bottom… which again needed further modifications – and a repaint.
All of that superb shiny paintwork, all the time and effort by Stuart in the paint booth had to be redone. What a bastard… lesson learned. DRY BUILD EVERYTHING!
Crank it up
As parts came from Casa Performance for the engine. I began to slowly assemble everything. Starting with the pre-production Vega5 speed Cyclone gearbox, everything appeared well made and finished and simply slotted together without any issues.
The crank I have fitted is an interim crank. It’s a J125 item but it had a Mazuccelli conrod fitted – this is until the production cranks for 4-speed casings become available. These new cranks have had all balance factors addressed and should hopefully run super smooth.
Lunamaster
The Lunamaster 5-plate clutch came next and is a cassette type clutch. So it was easy to put together and fit without the use of a clutch compressor. I chose a 15-tooth front sprocket and a 46-tooth clutch sprocket as a starting point for the primary drives.
CP ONE35
The top end bolted together without issue and a squish of 1.2 mm was achieved. Finally, a 24mm Polini carb was chosen as this was fitted with good results on one of the Casa Performance test bikes.
The whole engine seemed to be a piece of piss to build, with the final part being the new Ducati Casatronic ignition with the aptly given name, ‘The Firefly’.
Exhausted
Only one part eluded me at this point… and that was a suitable exhaust. I had some thinking to do on that score…… so while on holiday in Italy I decided to visit Fabio and Alan at TV Scooter Garage.
They had developed an expansion chamber and fitted it to their tuned ONE35 engine. Read more about it here.
To cut a long story short, after my visit I decided that I had to have one. And Fabio set about making me only the second of these hand made expansion chambers. The skill involved in making these exhausts is incredible. And he happily sent me a raft of photographs covering the whole process, which I found fascinating. He finished it just in time to get it packaged and shipped to me before departing for a well earned holiday in Sardinia. Top work, top fellas.
Moment of truth
As soon as it arrived I fitted it and stood back to admire the handy work. Then it dawned on me – it was ready to start. I always get an uneasy feeling of trepidation before I attempt to start a new scooter engine.
What if I’d ballsed it up somewhere and it all ends in an expensive pile of broken bits. Did I tighten that drive bolt properly, did I fit that oil seal correctly. The paranoia sets in. Have I stuck the gudgeon pin circlip right into the recess?
OHHH FFS just start it and lets get on with it.
To be continued…
Words and photo: Kirk St Moritz
Kirk’s build so far
Visit the SLUK Shop to see the latest goodies
-
Vespa GTS Exhaust gasket
£9.99 -
Honda Forza 300 Scorpion Exhaust
£419.00 – £449.00 -
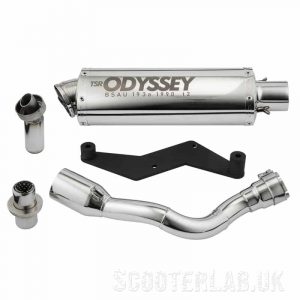
NEW TSR Odyssey exhaust – Vespa GTS 125/250/300 (including HPE)
£279.99 -
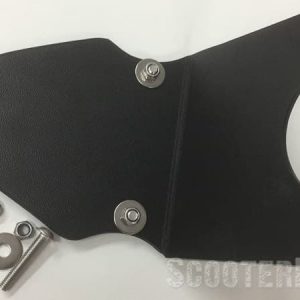
NEW Vespa GTS SLUK Catcher – Rear frame guard
£21.50 -

Tucano NEW WAGNER GLOVES
£69.99 -

NEW BRERA jacket
£249.99
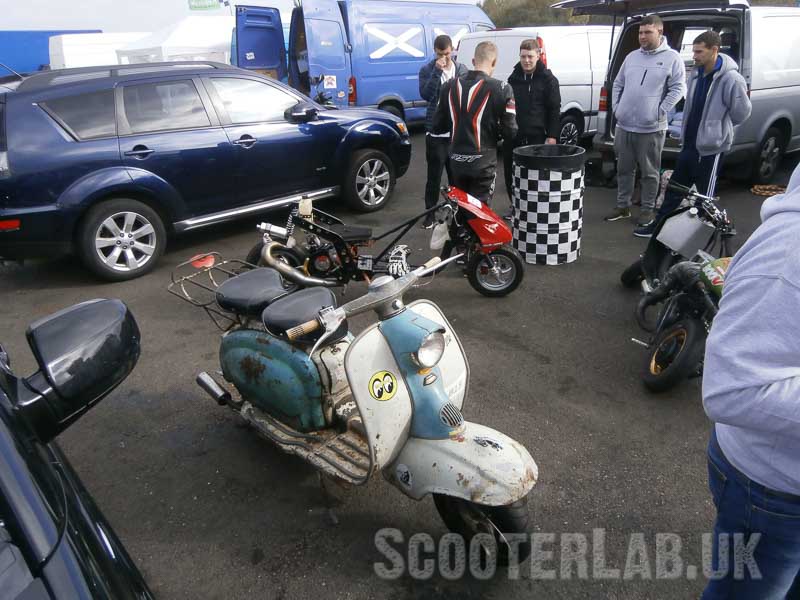





Yeah, stop fecking about with it and rag the arse out of it