
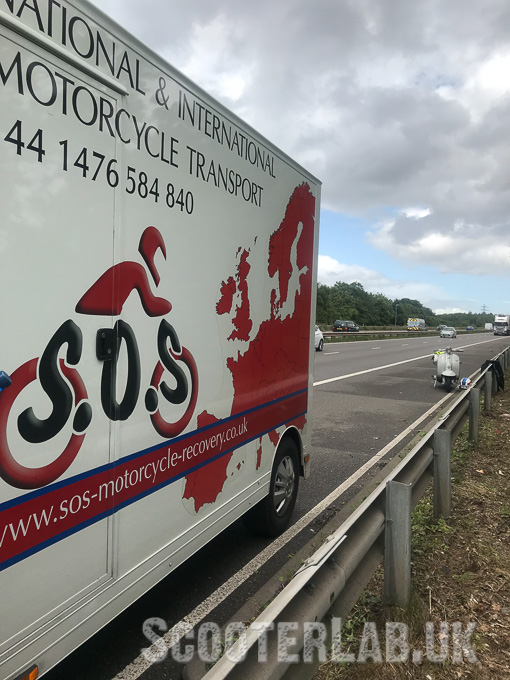
Just to set the scene, we’re riding to the Stax & Gas rally in the summer of 2019. I’m sat behind the missus, Linsey on her Series 2. I’m on my Quattrini-powered Eibar. She’s doing close to 70mph as we overtake an artic on the two-lane M42. Everything is good.
Then suddenly it’s not so good, her cast iron Stage 4 200 seizes solid as she’s drawing level to the cab of the lorry we’re overtaking. There’s literally nowhere for her to go. In the millisecond it takes to register what’s happening she pulls the clutch in and I ride up the outside of the coasting scooter between her and the central reservation. She’s signalling with her throttle hand to let the cars behind know there’s an emergency, whilst her left hand holds the clutch in. The lorry driver sees we’re having a problem and slows down instantly, then he guides her across to the hard shoulder and slows the rest of the traffic down. He was a hero that day.

That was the day that Linsey lost confidence in her engine, although we rebuilt it with a fresh cylinder and new piston and she used it again for Southport 2019. Fast forward to September 2021 and after almost two years of not riding it Linsey realises Weston-Super-Mare is coming up, it’s a 360-mile round trip via the motorway. We decided it was time to upgrade her engine.
The plan was to have it built, run in and on the dyno before Weston. We didn’t figure in the on-going problems with the postal service between Germany and England though so the Weston deadline was out of the equation and the parts arrived two weeks before Southport.
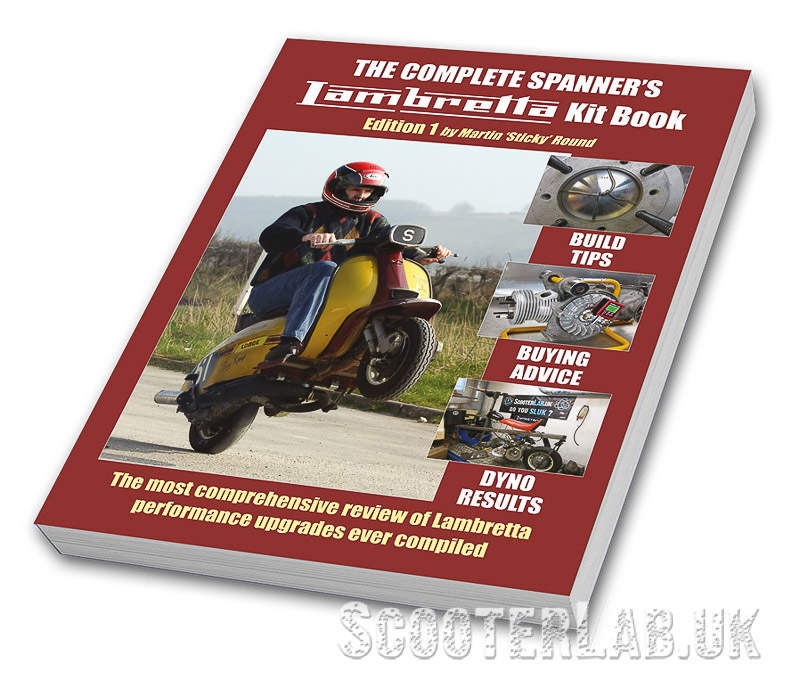
What to choose?
Obviously there’s no shortage of Lambretta kits to choose from these days but with choice comes decisions.
Luckily Sticky’s excellent Kit Book helped us out and for the type of riding and the type of rider Linsey is we settled on the well-proven BGM MRB Race Tour ‘RT’ 225. It’s a pretty bulletproof top end and coupled with some extra tasty components it should prove reliable, quick enough and above all else safer than her old engine.
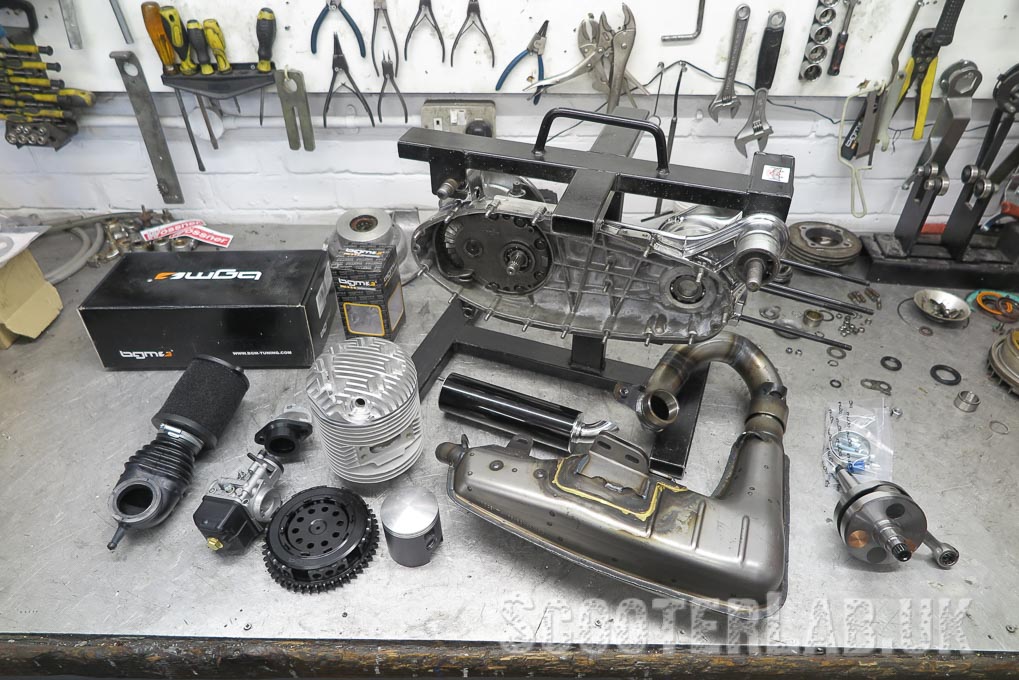
Components:
We decided to stick mostly to BGM parts for this build so we bought the following…
RT225 kit
BGM 60mm x 110mm Pro Competition crank
BGM Pro Superstrong six-plate clutch (a bit overkill for this engine but she’s worth it)
BGM Clubman Sport Pro exhaust
30mm carb (Dell’Orto wasn’t available so we’ve used the YSN instead)
BGM elbow and filter
New bearings and seals
BGM front sprocket
Casa Performance X44 chain guide
New Uni casings (last minute addition, you’ll find out why during the articles…)
The engine already had an AF Rayspeed 5-speed Clo5e gearbox, we’ve been running that gearbox since they first came out in 2018 with no problems so that was going back in, albeit with altered final drive.
Her scooter was already running a Scootronics ignition so we stuck with that.
The engine was to be built by well-respected local Lambretta specialist, Rob Miller at Simply Retro, Notts. Having it built by Rob ensures if things do go wrong (as they invariably do with 2-strokes) I don’t get the blame with her indoors!
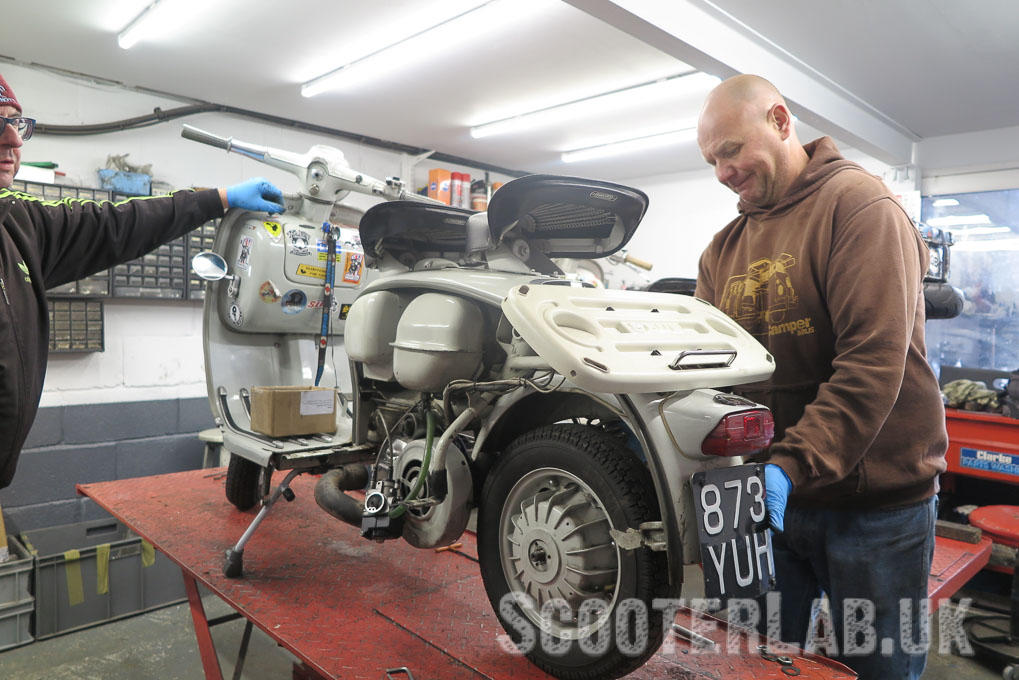
Tuesday – day one
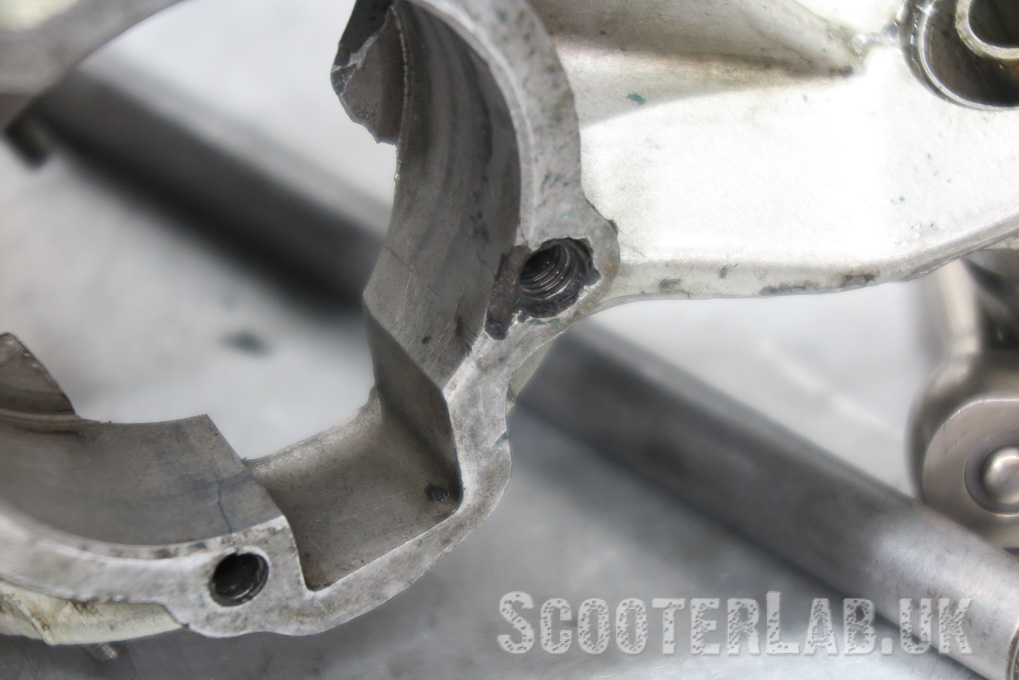
Linsey’s Series 2 was on the bench just before lunch and we removed the engine ready for Rob to start stripping things down. Once stripped, his righthand man, Tim cleaned everything down and things were looking good. Or they were until he noticed that a bit of the alloy around the bottom of one of the cylinder studs was missing, after removing the studs it was clear we also had a crack running down into the bore from two studs.
Wednesday
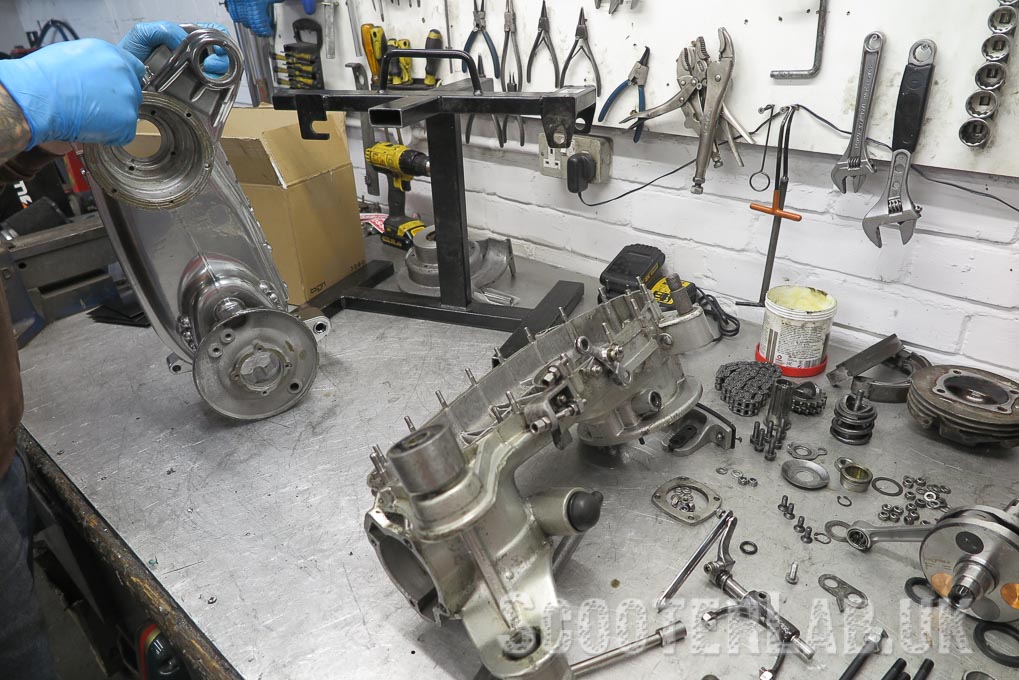
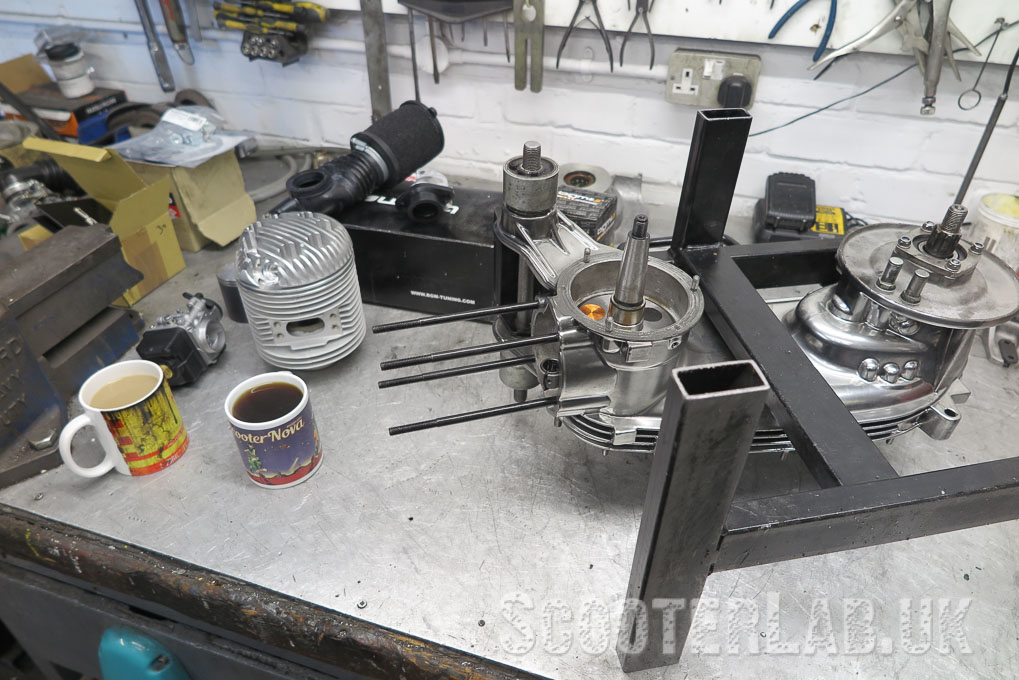
Arriving back at Simply Retro for round two we were hoping for a better day. The replacement casings were all ready for Rob to build. What could possibly go wrong?
Starting with the rear hub bearing and 5-speed gearbox seemed like a good idea, so Rob fitted those and spent quite a bit of time shimming it up (end plate on and off a few times). All new sidecasing studs were fitted. Then came the driveside bearing followed by the new 60mm crank, mag housing and piston. The RT kit comes with a set of fatter cylinder studs so they were wound in. All the threads in the casing were good after Rob ran a tap down them. Next it was time to slide the cylinder on… only it wouldn’t slide down the studs. After a bit of head scratching we swapped two of the RT kit studs for the smaller diameter BGM ones and the barrel slid home, albeit still quite tight. This was our first indication that these casings may not be as shiny as their chrome-effect powder coating suggests.
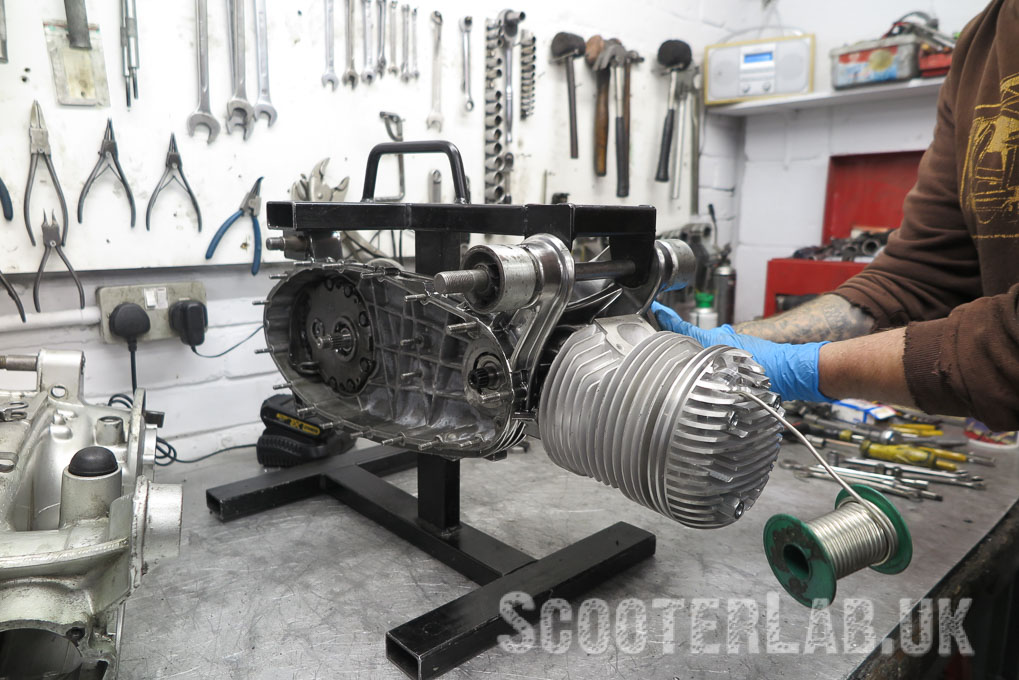
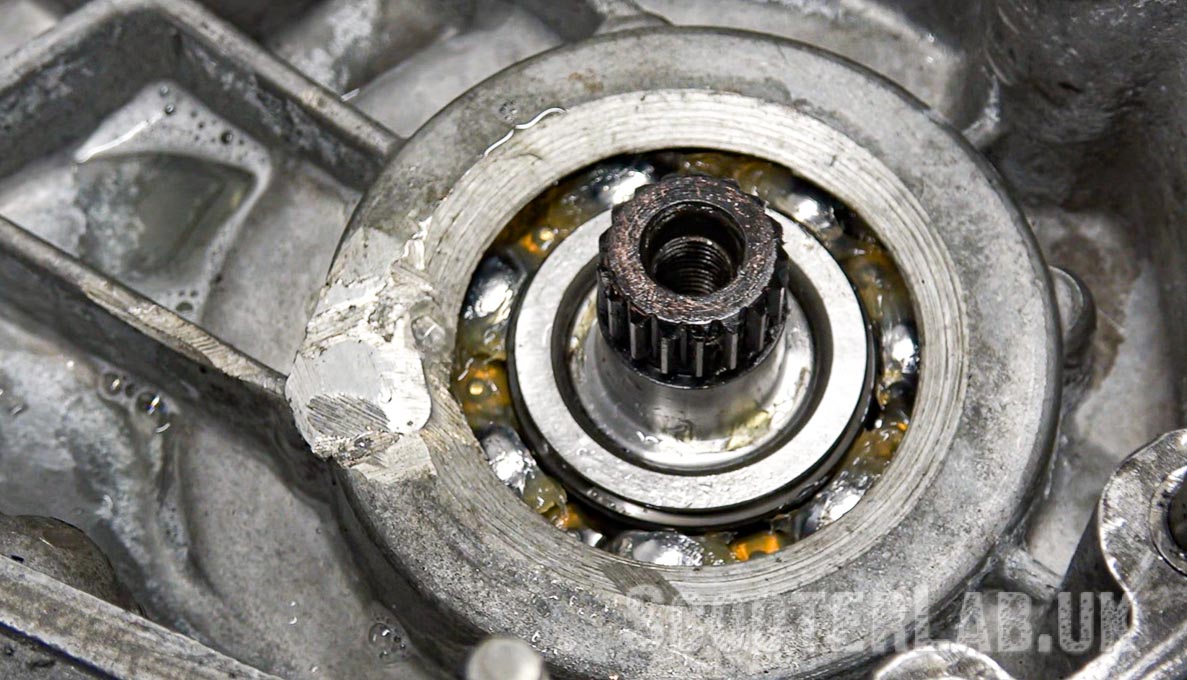
As it turns out this badly executed repair around the drive side bearing would prove troublesome. Sticky recently showed us a tip for pressure checking this area with bearings in situ.
From bad to worse!
Riding home for teatime!! Or not as the case may be.
It failed the test badly and after searching around for a bit we found the culprit was the alloy welded repair around the bearing. It was leaking like a sieve.This was very bad news. It was spewing air through a hole that was invisible to the naked eye. We also think the previous repair work had warped the casings altering the stud positions slightly, hence the BGM studs not fitting as they should.
Check out the video below, moments after the video ends three grown men are consoling each other as we realise we’ve wasted one and a half days and have to start all over again tomorrow.
If you’ve ever messed around with these vintage shopping bikes you’ll know that you have to expect the unexpected, a simple job is quite often more complicated than it should be and if you have a budget prepare to smash it.
WhatsApp a friend
It was time for a cuppa and a quick rethink.
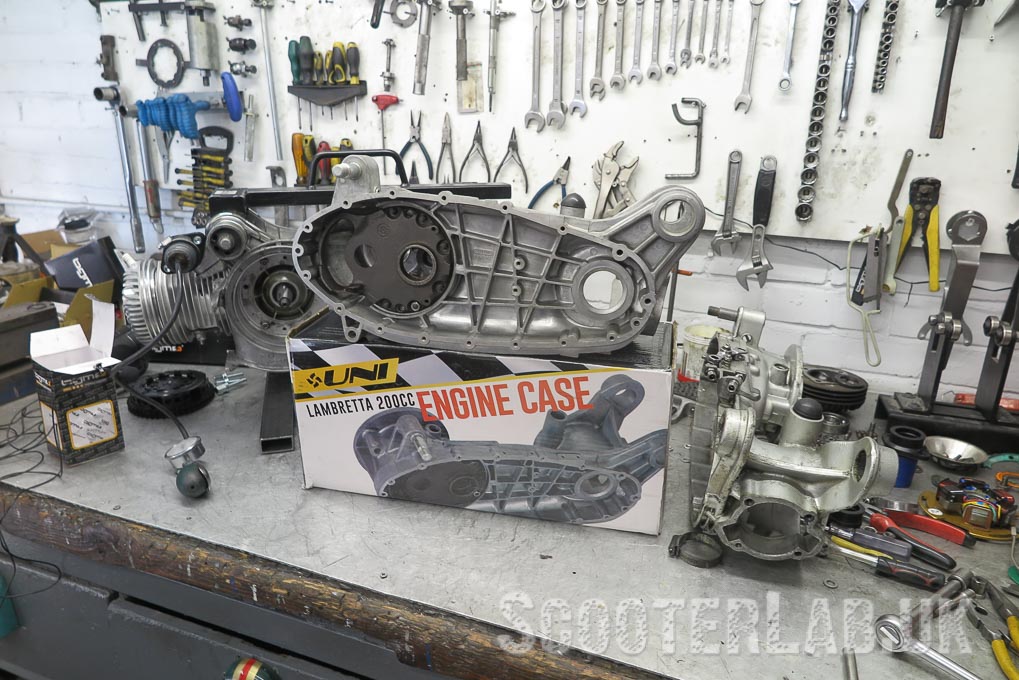
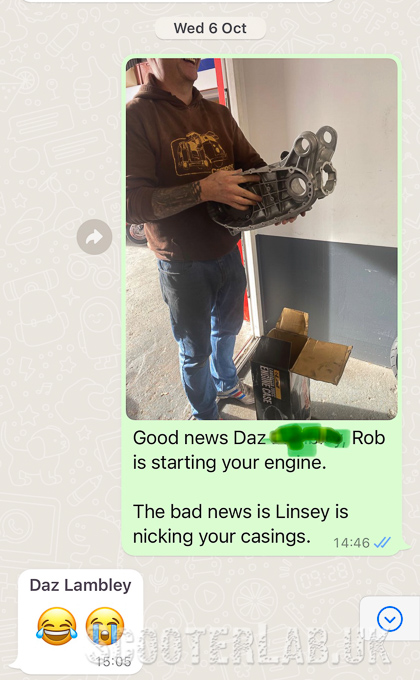
A club mate was waiting to have his own RT 225 built by Rob and had a set of brand new Uni casings sat on the Simply Retro shelf ready for the kit to go on. After a quick pleading WhatsApp message to the owner, “Good news Daz, Rob is starting your engine. The bad news is Linsey is nicking your engine casings”
The shiny new casings were out of the box and on the bench faster than Daz could type a laughing/crying emoji.
I left Rob to strip the second engine down and we’d start again from scratch tomorrow.
I’d promised Linsey she’d be test riding the scooter after work today and when I got home she was kitted up and ready for disappointment. Luckily we’ve been together over twenty years so disappointment is an emotion that comes easily to her.
Maybe tomorrow things will get better…
Read part 2 to here.
Shop local
One thing I’ve been reminded of recently whilst building this engine and the Pinasco 251 is that having a local scooter shop is an absolute life saver.
Being able to get parts off the shelf during a build or repair can make all the difference. In this post-Brexit world being able to buy spare parts in your home country, either in person or over the internet can save time and money. Many of your local scooter shops will stock the big brands from Italy and Germany (and vice-versa) so try those first.
SLUK are also stocking a few key products from the likes of BGM so give us a try as well.
Simply Retro
Based in Nottinghamshire, Simply Retro specialise in restorations and rebuilds. You can get in touch with Rob via his Facebook page here.







….