Time to replace that rotten brake pedal pivot...
Time to replace that rotten brake pedal pivot…


If your Lambretta has a floppy brake pedal that moves side to side then either the pivot bush is worn out, or more seriously the pivot pin that the pedal sits on is worn out or corroded.


The Lambretta rear brake is a poor design start to finish, but it all gets much worse with the wrong length cable or a worn-out pedal pivot pin.
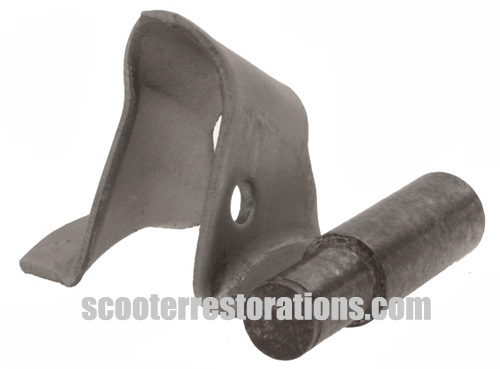
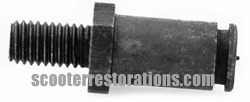
 

Scooter Restorations sell weld-on brake pedal parts
The second option is to use one of these.


There are two practical solutions to this issue:


1. Buy a new bracket and pivot pin from someone like Scooter Restorations, grind-off the old bracket from the frame and weld on a new one.


Pros: You get a like-new replacement.

Cons: Welding to the frame means a full strip and repaint of that frame section at the very least. Welding on the new pedal support in the right place is tricky without a guide.


NOTE: It is also possible just to buy only a new pin, grind or cut through the tack-welds for the old one and weld the new one into the bracket, but this still means damaging any paint in the area.
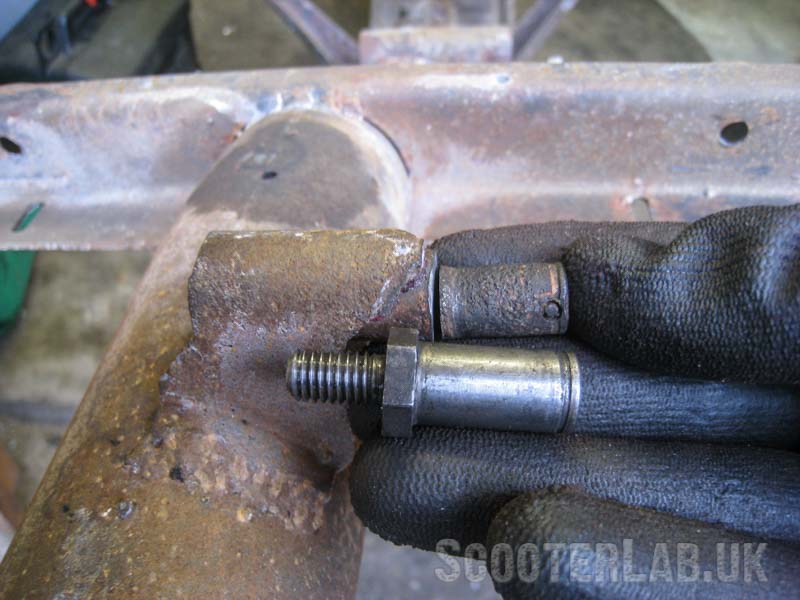
 

Fitting a brake shoe pivot pin is an easier solution for most.


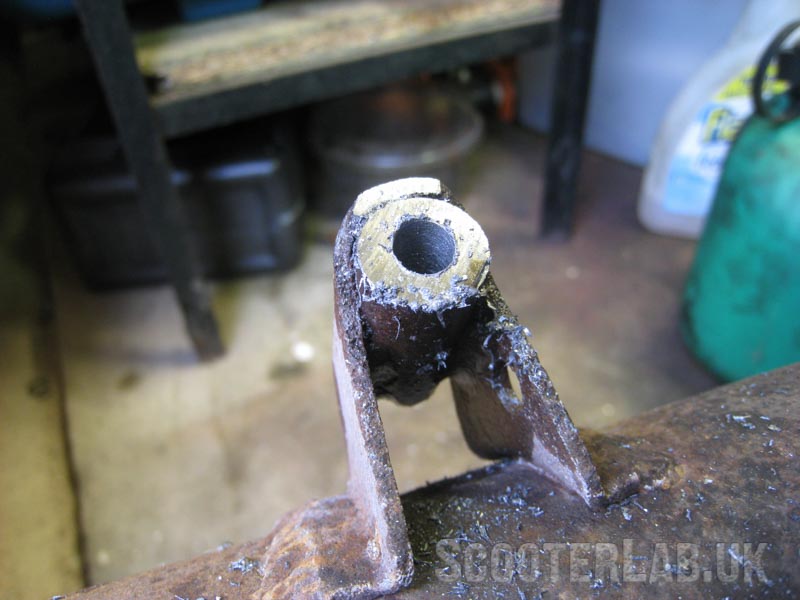
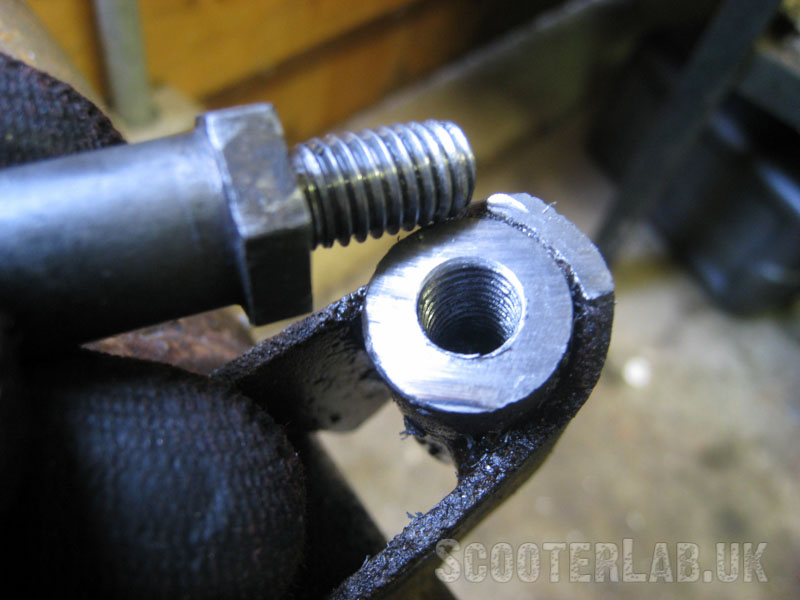
2. Cut the worn part of the pin off and drill and tap the remaining part to accept one of the brake shoe pivot pins from a Lambretta engine casing.


Pros: You can do this at home if you own a drill and a tap and die set. In the future a worn pin can be unscrewed and replaced with a new one.

Cons: Access to do this is still tight and it is preferable if the legshields are removed.


Even though I have welding equipment I chose to use the second method for the ease and repeat-ability factor.
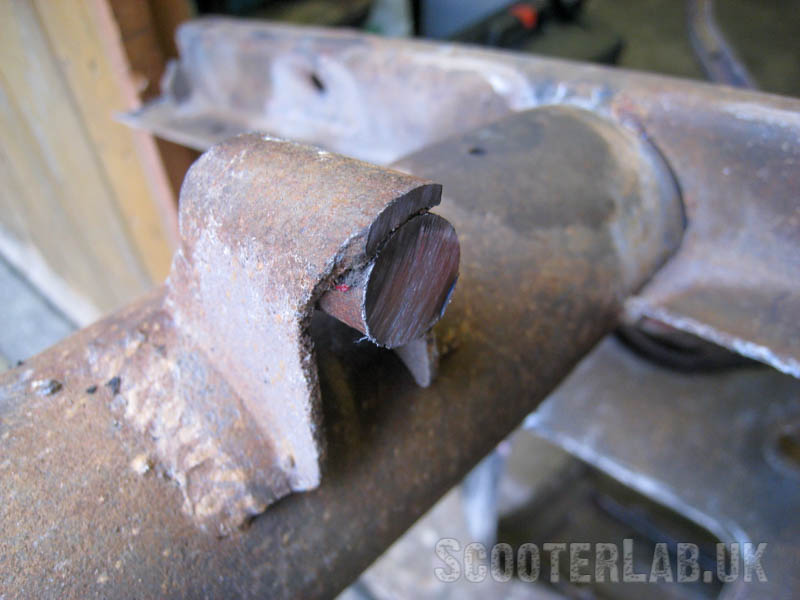
 

Cut off the worn section of pin. You can do this with a saw or a disc cutter. 


Pay attention that the replacement pin has a hexagon section for the spanner, so you need to cut the pin shorter by the same thickness at the hexagon to put the pedal in the same position as before. On this scooter, that also meant cutting the pin bracket slightly.
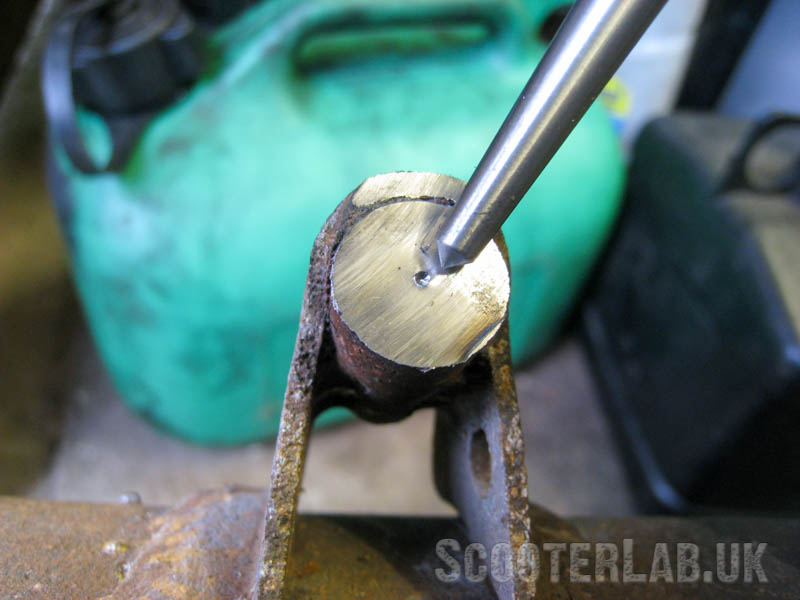
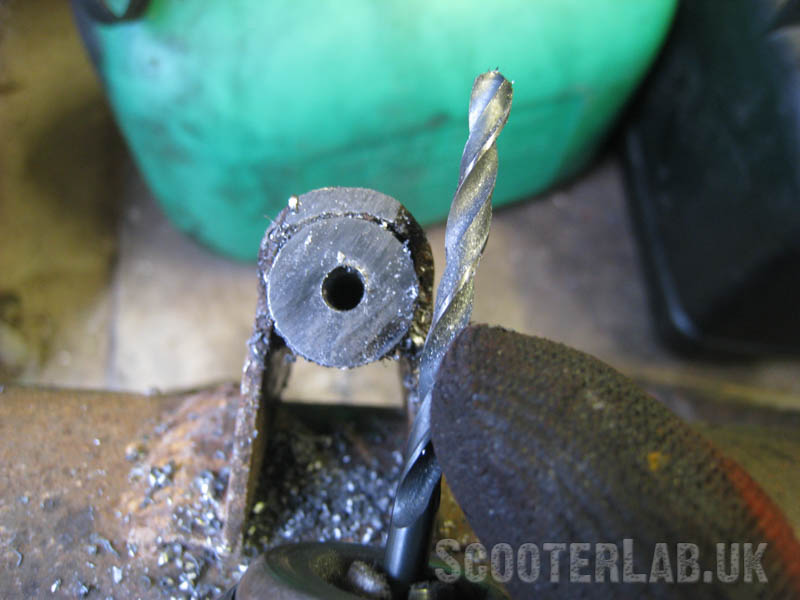
 

Use a centre-punch to mark the exact centre of the pin before drilling.
Drill the pin to almost the full depth using a small pilot drill. It is vital that you drill the hole straight through the centre of the pin or your brake pedal will sit at an angle.
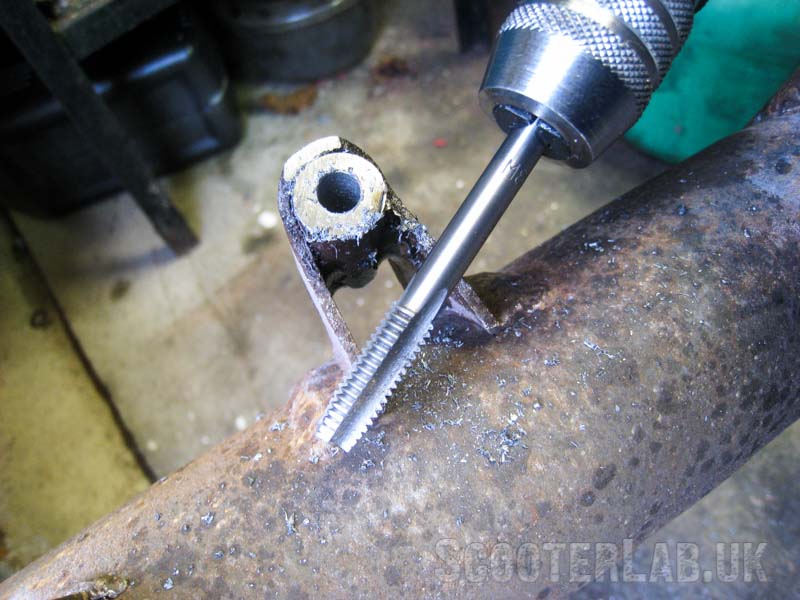
Drill to the correct size for tapping to M8 thread (6.75mm drill bit).
Create a thread in the hole with an M8 tap. If the tap is tapered then you may need to tap deeper than you expect for the pin to wind all the way in without resistance. You need a short-handled tap-wrench to be able to fully rotate the tap without touching the legshield support strut. Lubricate the tap and turn the tap back by a quarter turn for every half turn you go forward.
Apply medium strength Loctite to the threads of the pin and wind it firmly into place.
With a new bush fitted your brake pedal should now have lost all its side-to-side wobble.


Your new brake pedal pivot is slightly longer than the original but it is possible to shim it before fitting the circlip. If and when it wears out it is easy to fit a new one.


Sticky


Credit to Jason Frost for telling me about this trick. This tip is one of many contained in the Complete Spanner’s Lambretta Manual .


Buying from SLUK Shop supports this site